Showing posts with label dolls. Show all posts

Thursday, 24 October 2013

How to make a cuddle doll - Part 2


Ok - as promised, here is the next part where we see the doll coming together.

Now we ready to stuff the legs. I use a combination of wool batting and Merino wool knops to get a soft, cuddly stuffing.


The legs are then gathered at the waist and sewn onto the body. Then the feet are made by running a small gathering stitch around the 'ankles'.


The arms are then sewn with neat stitches onto the legs.


Now it is time to make the hands. The hands are sewn on the sewing machine with a stretch stitch and then trimmed to shape.


The hands are now firmly stuffed with more wool and tied with lined thread.


Next the hand is rolled in a length of wool batting and this is used to stuff the arm.


The hand is sewn in place at the sleeve.


We are nearly finished! For this doll I wanted to experiment with some embroidery stitches for sewing on the hat. Here I am using herringbone embroidery stitch. 


Here is the finished doll. I hope you have enjoyed reading about the way the doll is made. Please feel free to contact me if you are interested in attending a workshop or have a request for a special doll in mind.

I have one more workshop before Christmas, starting on 6th November.

Best wishes

Sam

Thursday, 17 October 2013

How to make a Waldorf Cuddle Doll - Part 1

In this post I am going to explain how to make a Rainbow cuddle doll. I love rainbows and I love cuddle dolls, so putting the two together has been something I have wanted to do for ages.

I will do this post in two parts, as I think it will be rather long. I have tried to take photos as I worked through each process.


The first step in making this rainbow cuddle doll is to dye the fabric. I took a good quality double raised flannel and cut it into strips the correct length to make the hat, arms and legs. 


This shows the fabric during the dying process being dipped into the second colour - blue and yellow into green.


This is the fabric after dyeing, drying on the washing line. It is in the same order as the doll (and a rainbow). Red/orange will be for the hat, yellow green for the arms, dark green, blue purple for the legs.


The next step is to make the head and 'heart' of the doll. The heart is the part the child will hold onto when they cuddle the doll. This needs to be firm but not as firm as the head.

I start by making a tube which is gathered and secured at the top. This tube is then filled with sheep wool. The top is stuffed very firmly to make the head and the bottom, less so to make the heart.

The tube is then secured at the bottom and linen thread is tied around to form the neck.


The face is then shaped with more linen thread.


Now it is time to sew the body. This is made in two parts - the arms and the legs. They are made from a simple rectangle shape. Above I am marking out the feet and getting ready to sew.

I also sew the arms leaving a gap to put the doll's head through (sorry no pictures of this). I also cut the other side of the arms so that the head can fit through.

 Next, I am going to embroider the face. I usually do the eyes first and then the mouth, making sure they form an equilateral triangle.


 Here the face embroidery has been done and I have tried a hat on for size.

Ok  - in the next 'How to make a Waldorf Cuddle Doll" post you can see how it all comes together.

best wishes

Sam


Friday, 14 June 2013

Elf Castle + Spots

It is Theo's turn for the chicken pox this week - looks like Ello has them too....

So, I thought I would bring you a little blast from the past.

Last Christmas Fil aka the Woodbotherer did several commissions and this Elf Castle was one of them.


Complete with a throne, balcony and even a dragon's cave at the bottom.

Steps lead up to the beautifully shaped front door - I love the details.

and of course complete with proper defenses!

Have a great week.

Sam


Friday, 17 May 2013

New doll


Hello! this week I bring you a doll I have just put the finishing touches to  - like hand sewing a rolled hem on the top of her t-shirt as it is so tiny!

I have made both girl and boy dolls and have read a fair bit recently about boy dolls and boys playing with dolls. In our house this is just normal and the gender of my children's dolls seems quite flexible at times!

However, for this doll I wanted to make a girl doll who wasn't quite so 'girly'. Maybe on reflection I was inspired by the changes in my own daughter who now prefers trousers and most other colours to pink.

Anyhow, I think she turned out quite lovely. What kind of doll would you like to make and who for?

Friday, 3 May 2013

Doll love

I love making dolls.

Here are a few of my favourites that I have made.


I discovered this type of doll through attending my local Steiner Playgroup. The dolls at playgroup were different, made from natural fabrics with simple features. I bought a book on dollmaking and made my first doll for my daughter's 3rd birthday.

What I discovered when I made my first doll was that there is much more to a doll than merely fabric and sewing.

As the doll is formed it starts to take on a personality, a character. I was genuinely surprised by this and totally fell in love with making dolls.

However, it is when you give the doll to a child, the real magic begins.

Evie and Lily

When I make dolls, I make sure I have time and am not rushed and therefore have only started regularly making dolls for others fairly recently now my children are a little older.

I usually have an idea as a starting point but stay open to the character of the doll coming through. 

Sometimes the finished doll will be quite different from the idea that first started.

I currently have some dolls looking for good homes, either at our Felt shop or you can visit some in person if you are local at a very special little shop called Forest Folk.


Doll Making Classes

I am very happy to have the opportunity to share my doll making skills with you in 'Doll Making Classes' held together with the Titirangi Rudolf Steiner School craft group. 

"It is a beautiful thing to craft a doll with your own hands, sew it together with love, then make a gift of it to your child with these words 'I made this for you!'"(Sara McDonald, Magic Cabin Dolls).

If you are interested learning doll making then please get in touch - all the details are below. There is a limit of 6 places this time. All proceeds go to the school.


Best wishes

Sam
Friday, 26 April 2013

Introducing...

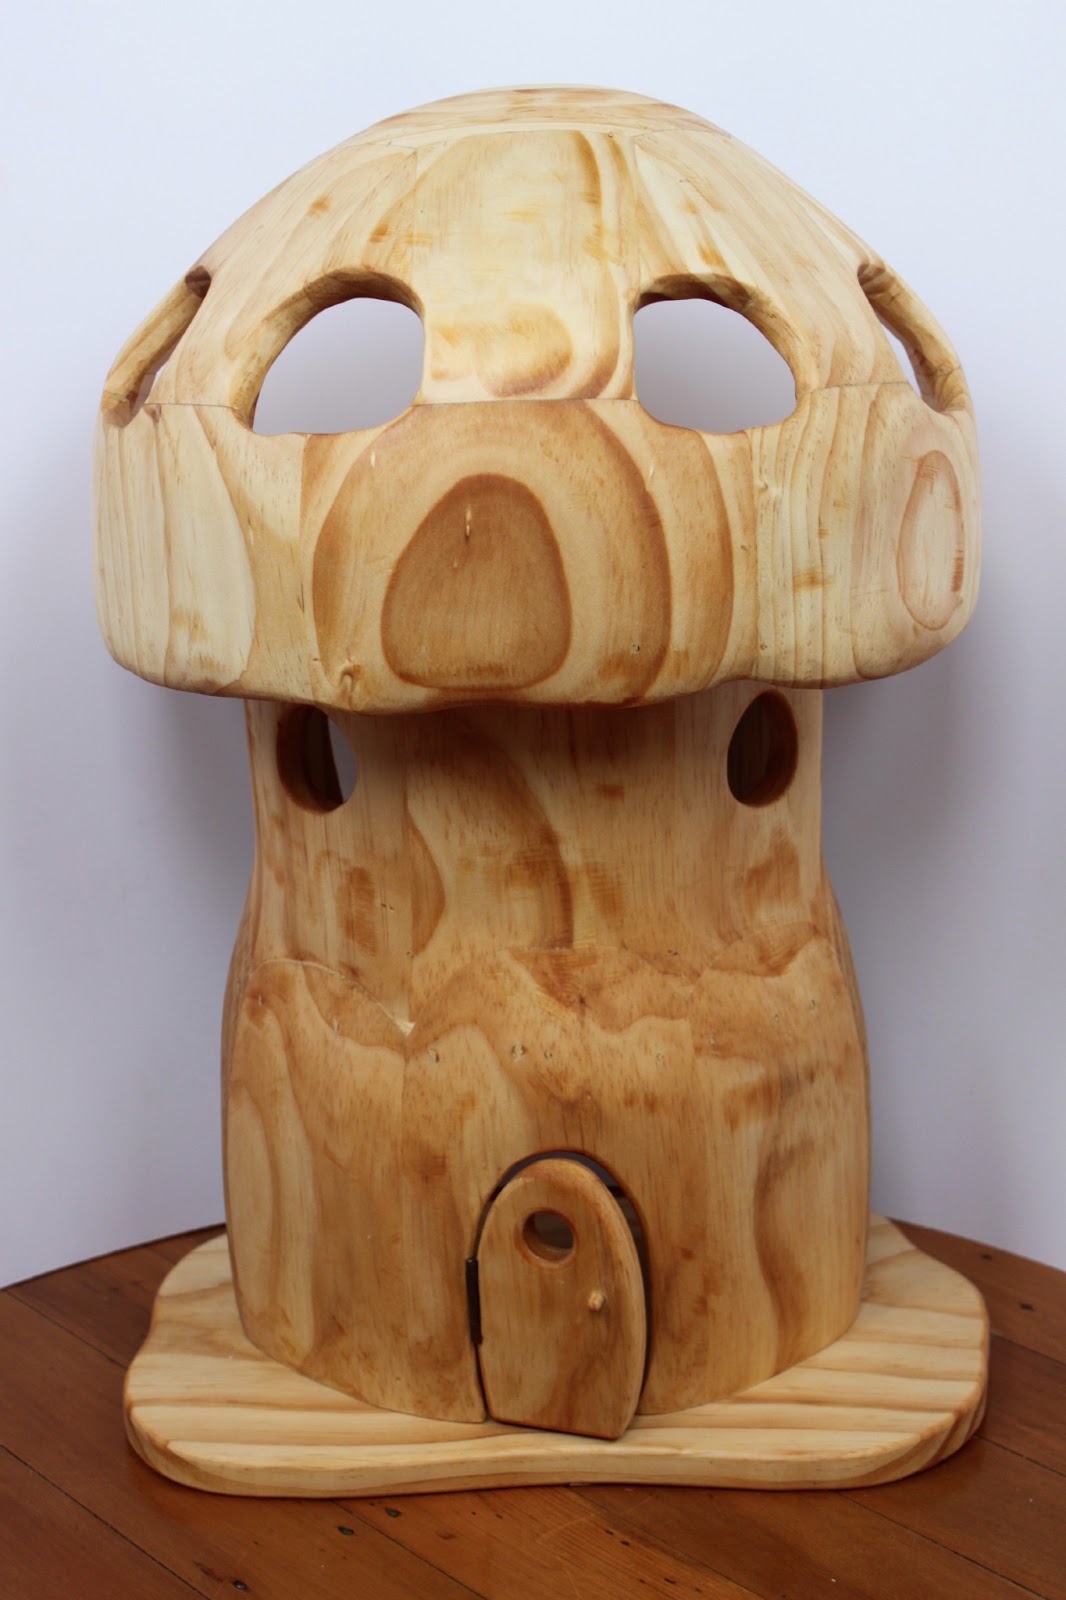
The Mushroom House
I wonder - who would live in a house like this?

a little family of gnomes? yes - I think so!

there's 3 beds upstairs...

and a table in the kitchen...
and little windows to peek out of

good bye from the gnomes!

The Mushroom House is now available in the shop. To see this and more of our toys head on over to Felt.

Also, we are delighted to be featured this week by Janelle from Heartfelt. Make a comment on her blog post (here) to be in with a chance of winning this week's giveaway - a Woodbotherer Sword and Shield. Good luck.

Finally, we would love to know what you think of the Mushroom House and the Gnomes if you want to leave a comment.

Best wishes

Sam


Thursday, 18 April 2013

Work in Progress

Every now and again in this busy home of ours I like to stop and take stock of all the 'work in progress'.

In a rare quiet moment I took my camera around to find out what was being made....

 sketching in the workshop...

a new shaped fairy house will be ready soon....

in the sewing room a little family grows...

Autumn = knitting and this time something for me! The pattern is here

a little workspace made on an upturned crib

these look sweet

working out on paper + table...

and look what I found in the playhouse!
Have a great weekend and next week you will see the new fairy house and it's inhabitants in full!

Sam
Friday, 12 April 2013

Hello Ello


My daughter Evie loves the doll I made her for her 5th birthday. She is called Lily and really is part of the family.
This is Evie and Lily in London recently when we went for a visit - yep, Lily goes everywhere.
Naturally, my son Theo has been anticipating having a doll like Lily of his own. He already has a few but not one that you can dress and undress.

When recently I started making dolls again, Theo brought me some doll skin fabric from my stash. "Let's make a doll Mummy."

Well, how could I resist?

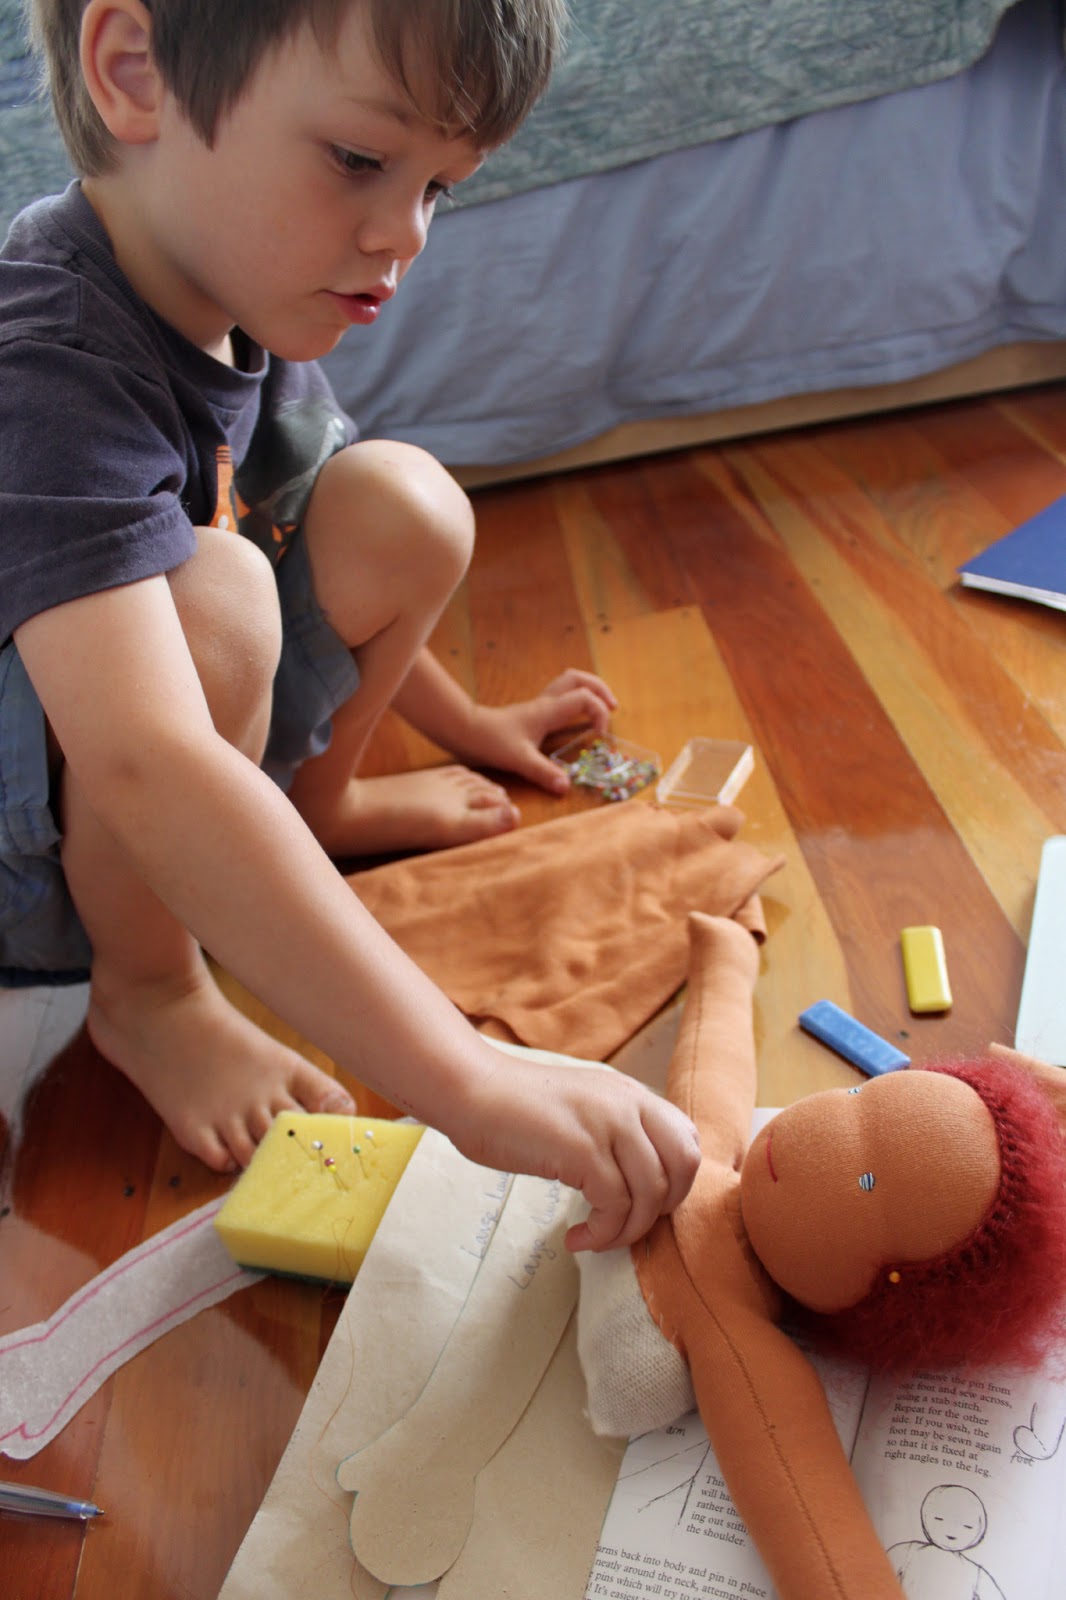
So, over the next few weeks we worked on Theo's doll together in that funny hour or so after lunch and before we go and collect Evie from school. I made the head myself first as this is not something that is recommended to do with young children, and we did the rest together. I sewed and Theo helped in the way 4 year olds do. ahem.

This is the story of how Ello was born.
First we covered his head in skin fabric. Theo started to play with him straight away, before he even had a body! He chose the beautiful colours for his eyes and red wool for his hair.

Then we carefully cut out and sewed the fabric for the arms and the body and weighed out the wool to stuff the arms.

We stuffed the hands first. Nice and firm.

Then we put the arms on the top of the body - my helper carefully took out the pins.


Next we stuffed the body with wool.

The head and are were then put into the body of the doll ready to be sewn up.

Theo asked me frequently if the doll was ready yet? No, not yet - soon.

Then one morning (soon after) Theo awoke to find his new friend wrapped in a blanket at the end of his bed.


"I cradled him in my arms Mum, and he is called Ello"